Updated
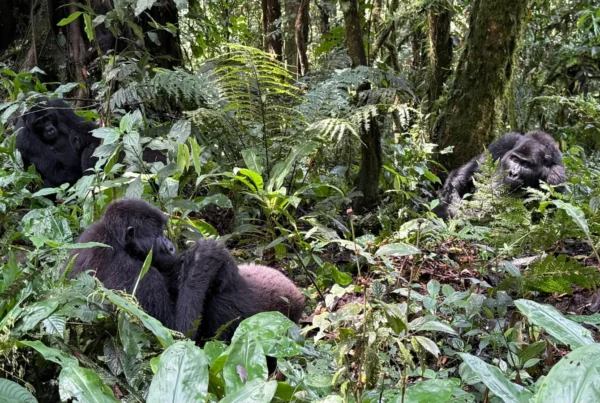
Black-and-white photography suits gorilla trekking well. Bwindi’s dim, contrasty forest light and green-on-green backgrounds often look better in monochrome, and black fur, wrinkled faces and expressive eyes stand out in tones and textures. The best approach is to shoot in colour RAW and convert later, choosing images with strong light, texture and expression.
What makes a good black-and-white gorilla photo
Look for side light falling across a face, texture in fur and skin, strong eye contact or expression, and simple backgrounds. Rain-soaked fur, mist and backlit hair also work well. High ISO noise looks more like film grain in monochrome, so dark forest conditions are less of a problem.
Converting and editing
Shoot RAW so you keep full detail. In editing, use colour channel controls to darken or lighten greens and adjust skin tones, add contrast carefully to keep detail in black fur, and use local adjustments to brighten eyes. Avoid heavy clarity, which can make fur look crunchy.
On the trek
Keep to the usual rules: no flash, 7 m distance and a quiet approach. Set your camera to show a monochrome preview while still recording colour RAW if you want to see compositions in black and white. The gorilla permit costs US$800, or US$600 in April, May and November. See our guides to editing gorilla photos, camera settings, low-light photography and photography rules.
Frequently asked questions
It handles harsh forest light and busy green backgrounds, and emphasises texture and expression.
Shoot colour RAW and convert later; a monochrome preview can help composition.
Less so; noise looks more like film grain.
No, flash is banned near gorillas.